
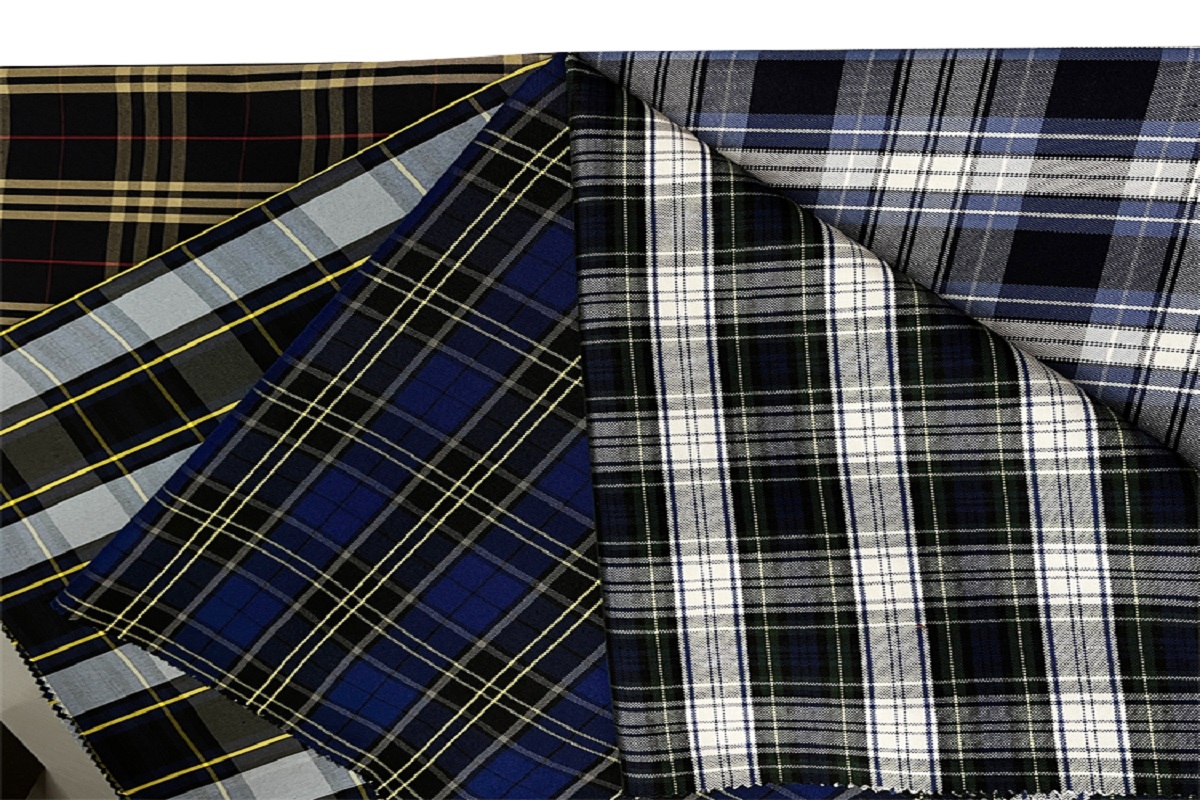
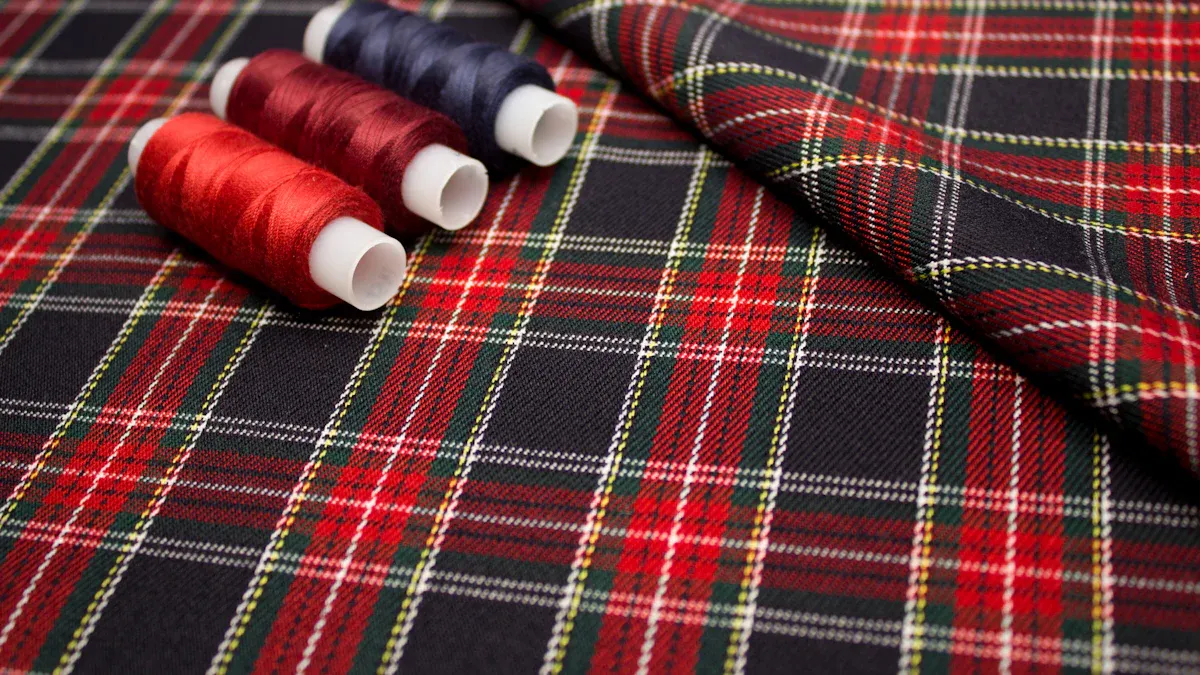
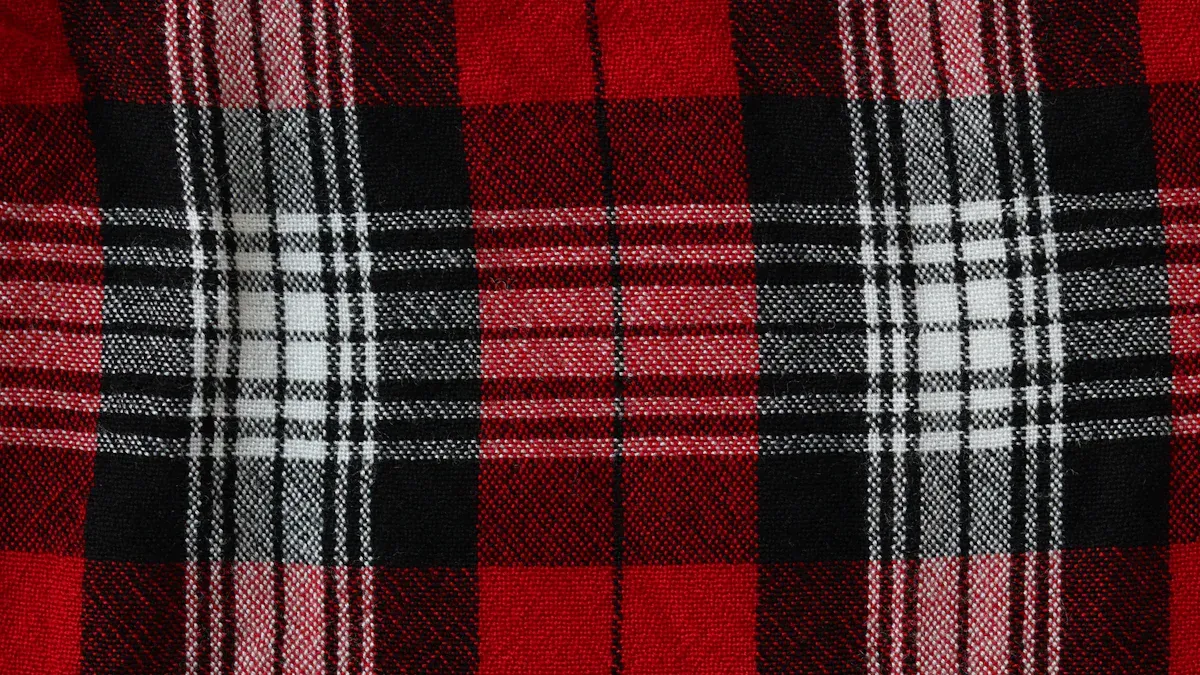
School uniform check fabric brings back memories of school days while offering endless creative possibilities. I’ve found it to be a fantastic material for crafting projects due to its durability and timeless design. Whether sourced from school uniform fabric manufacturers or repurposed from old uniforms, this polyester fabric for school uniform can easily transform into stunning home decor items. Its plaid patterns add charm to any DIY project, making it a favorite choice for crafters.
Key Takeaways
- Turn school uniform check fabric into comfy throw pillows. This adds a cute touch to your home and keeps special memories alive.
- Design unique table runners and placemats to brighten your dining table. Add fun stitching to make them your own and wow your guests.
- Craft useful fabric baskets to tidy up your space. These cool storage ideas are great for keeping craft tools or home items.
Cozy Throw Pillows with School Uniform Check Fabric
Transforming school uniform check fabric into cozy throw pillows is a simple yet rewarding DIY project. These pillows not only add charm to your living space but also preserve the nostalgic essence of school days.
Materials Needed
To create these throw pillows, you’ll need the following materials:
| Feature | Details |
|---|---|
| Fiber Type | Merino |
| Fabric | Wool |
| Pattern | Check |
| Use | Garment, Textile, Suit, Cushions, Home Furnishing Items |
| Wash Care | Dry Clean |
| Country of Origin | Made in India |
Additionally, here are some key specifications to consider:
- GSM: 350 to 800
- Composition: 50 to 100% Wool
- Suitable for making various items, including cushions and upholstery.
Other essential items include:
- Polyester stuffing or pillow inserts
- Sewing machine or needle and thread
- Fabric scissors
- Measuring tape
- Pins
Step-by-Step Instructions
- Measure and Cut the Fabric: Start by measuring the dimensions of your pillow insert. Add an extra inch to each side for seam allowance. Use fabric scissors to cut the school uniform check fabric accordingly.
- Prepare the Fabric: Lay the fabric pieces with the patterned sides facing each other. Pin the edges to hold them in place.
- Sew the Edges: Using a sewing machine or needle and thread, sew along three sides of the fabric. Leave one side open for stuffing.
- Insert the Pillow: Turn the fabric right side out. Insert the pillow stuffing or pillow insert through the open side.
- Close the Pillow: Fold the edges of the open side inward and sew it shut. Use small, neat stitches for a polished finish.
These throw pillows are a perfect way to repurpose school uniform check fabric while adding a touch of elegance to your home decor. The plaid pattern complements various interior styles, making it a versatile choice for any room.
Personalized Table Runners and Placemats
Creating personalized table runners and placemats with school uniform check fabric is a delightful way to add charm to your dining area. The plaid patterns bring a classic touch to your table settings, making them perfect for everyday use or special occasions.
Materials Needed
To get started, gather the following materials:
- School uniform check fabric (amount depends on the size of your table and number of placemats).
- Sewing machine or needle and thread.
- Fabric scissors.
- Measuring tape or ruler.
- Pins or fabric clips.
- Iron and ironing board.
Optional: For added durability, consider using interfacing or backing fabric.
Step-by-Step Instructions
- Measure and Cut the Fabric: Begin by measuring your table and deciding on the dimensions for your table runner and placemats. Add an extra inch to each side for seam allowance. Cut the school uniform check fabric accordingly.
- Prepare the Edges: Fold the edges of each piece inward by half an inch and press them with an iron. This step ensures clean, crisp edges for sewing.
- Sew the Edges: Stitch along the folded edges using a sewing machine or needle and thread. Keep the stitches neat and close to the edge for a professional finish.
- Add Personal Touches: If desired, embellish your table runner and placemats with decorative stitching, lace, or embroidery. This step allows you to customize the design to match your style.
- Final Touch: Press the finished pieces with an iron to remove any wrinkles and give them a polished look.
For additional guidance, tutorials on sewing napkins and tablecloths can help you refine your technique. Classes at Holly D Quilts also offer hands-on experience in making placemats and table runners. These resources are excellent for learning new skills and enhancing your project.
With these steps, you can transform school uniform check fabric into elegant table decor that reflects your creativity and style.
Nostalgic Quilts and Blankets
Creating quilts and blankets with school uniform check fabric is a meaningful way to preserve memories while crafting something functional and beautiful. I’ve found this project to be perfect for beginners and experienced crafters alike, as the fabric’s plaid patterns lend themselves to striking designs.
Materials Needed
To start, gather the following materials:
- School uniform check fabric: Choose a variety of colors and patterns for a visually appealing quilt.
- Batting: This provides the quilt with warmth and thickness.
- Backing fabric: Select a complementary fabric for the underside of the quilt.
- Sewing machine: Ensure it has a quilting foot for ease of stitching.
- Rotary cutter and mat: These tools help cut precise fabric pieces.
- Ruler: Use it to measure and align fabric squares.
- Pins or clips: Secure fabric layers during assembly.
- Iron: Press seams for a polished finish.
Optional: Consider using quilting templates for intricate designs.
Step-by-Step Instructions
I always recommend following a structured process when creating quilts. Here’s a simple guide:
- Plan Your Design: Sketch the layout of your quilt, deciding on the size and arrangement of the fabric squares.
- Cut the Fabric: Use a rotary cutter and ruler to cut the school uniform check fabric into squares or rectangles. Ensure uniformity for a clean look.
- Assemble the Quilt Top: Arrange the fabric pieces according to your design. Pin them together and sew along the edges to create rows. Then, join the rows to complete the quilt top.
- Layer the Quilt: Place the backing fabric face down, followed by the batting, and then the quilt top face up. Smooth out wrinkles and secure the layers with pins or clips.
- Quilt the Layers: Stitch through all layers using a sewing machine. Follow your design or create simple straight lines for a classic look.
- Bind the Edges: Trim excess fabric and batting. Attach binding around the edges to give the quilt a finished appearance.
For additional clarity, I’ve outlined the effectiveness of step-by-step instructions in the table below:
| Step | Description |
|---|---|
| 1 | Read through the directions to ensure logical order. |
| 2 | Check for grammatical errors that may indicate attention to detail. |
| 3 | Ensure the steps are numbered and can be followed easily. |
| 4 | Understand fabric requirements and make necessary adjustments. |
| 5 | Create a test block to verify construction methods and measurements. |
This process ensures that every quilt turns out beautifully, whether it’s a small lap blanket or a full-sized bedspread. Using school uniform check fabric adds a nostalgic touch, making each piece truly special.
Decorative Wall Art and Hangings
Decorative wall art and hangings made from school uniform check fabric can add a unique and personal touch to your home. This project allows you to showcase the fabric’s timeless plaid patterns in a creative way. Whether you’re designing a framed piece or a fabric banner, this DIY idea is both fun and rewarding.
Materials Needed
To create your wall art or hanging, gather the following materials:
- School uniform check fabric (choose patterns that complement your decor).
- Wooden embroidery hoops or picture frames.
- Scissors.
- Hot glue gun and glue sticks.
- Ruler or measuring tape.
- Optional: Paint, stencils, or embellishments for added decoration.
Step-by-Step Instructions
- Choose Your Design: Decide on the type of wall art you want to create. For example, you can stretch the fabric over an embroidery hoop or frame it like a picture.
- Prepare the Fabric: Measure and cut the school uniform check fabric to fit your chosen frame or hoop. Leave an extra inch around the edges for adjustments.
- Assemble the Art: Place the fabric over the embroidery hoop or frame. Pull it taut to ensure a smooth surface. Secure it in place using the hoop’s tightening mechanism or by gluing the edges to the back of the frame.
- Add Personal Touches: Use paint, stencils, or embellishments to customize your wall art. For instance, you can stencil a motivational quote or add decorative buttons.
- Hang and Display: Attach a hook or ribbon to the back of your art piece. Hang it on your wall to instantly elevate your space.
This project highlights the versatility of school uniform check fabric. Its classic patterns make it a perfect choice for creating eye-catching wall decor that blends nostalgia with style.
Functional Fabric Baskets and Storage Bins
Functional fabric baskets and storage bins are a practical way to organize your space while adding a touch of charm. I’ve found that school uniform check fabric works wonderfully for this project due to its durability and classic plaid patterns. These baskets can hold anything from craft supplies to household essentials, making them both stylish and useful.
Materials Needed
To create these fabric baskets, you’ll need the following materials:
- School uniform check fabric (amount depends on the size of the baskets).
- Sturdy interfacing or fusible fleece for added structure.
- Sewing machine or needle and thread.
- Fabric scissors or rotary cutter.
- Measuring tape or ruler.
- Pins or fabric clips.
- Iron and ironing board.
Optional: Decorative trims or handles for added functionality.
Step-by-Step Instructions
- Measure and Cut the Fabric: Decide on the dimensions of your basket. Cut two pieces of school uniform check fabric for the outer layer and two pieces of interfacing for support.
- Attach the Interfacing: Iron the interfacing onto the wrong side of the fabric pieces. This step ensures the basket holds its shape.
- Sew the Outer Layer: Place the fabric pieces with the right sides facing each other. Sew along the sides and bottom, leaving the top open.
- Create the Base: To form a flat base, pinch the bottom corners and sew across them. Trim the excess fabric for a neat finish.
- Add Finishing Touches: Fold the top edge inward and sew a hem. Attach decorative trims or handles if desired.
- Shape the Basket: Turn the basket right side out and press it with an iron to smooth out wrinkles.
These fabric baskets are a versatile addition to any home. The school uniform check fabric adds a nostalgic yet timeless appeal, making them both functional and visually pleasing.
School uniform check fabric opens up endless opportunities for creative DIY projects. From cozy throw pillows to functional storage bins, the possibilities are limitless. I encourage you to experiment with your own designs. Repurposing this timeless fabric into something meaningful brings both satisfaction and charm to your home. Start crafting today!
FAQ
What types of projects work best with school uniform check fabric?
I recommend projects like throw pillows, quilts, and storage bins. The fabric’s durability and plaid patterns make it ideal for both decorative and functional items.
Can I wash school uniform check fabric before starting a project?
Yes, I suggest washing the fabric to remove any finishes or shrinkage. Use a gentle cycle and air dry for the best results.
Tip: Always iron the fabric after washing to ensure smooth and precise cuts.
Where can I find school uniform check fabric for DIY projects?
You can source it from fabric stores, online retailers, or repurpose old uniforms. Look for 100% polyester plaid fabric for durability and versatility.
Post time: Apr-17-2025